Do you ever have a hard time getting a good impression with a solid stamp? I used to have a terrible time, so much so that I avoided even the cutest solid stamps and that was no fun, lol!
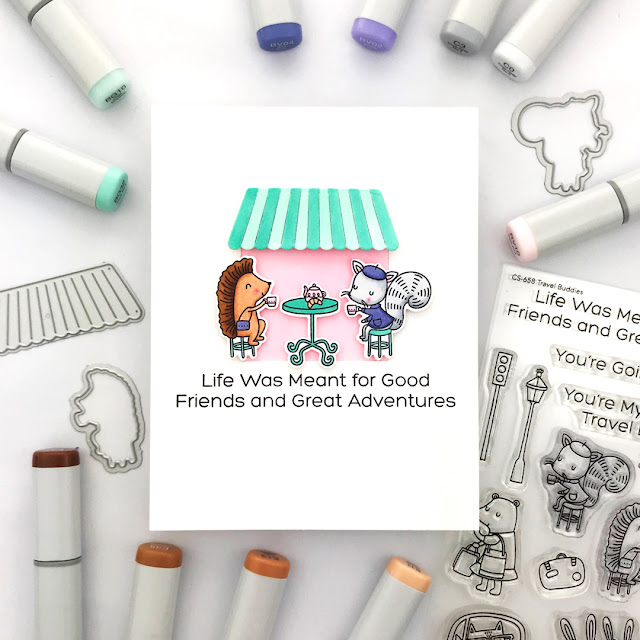
Luckily I have found a few tips & tools that help me get fabulous results with solid stamps! And I have a few favorite techniques I like to use with solid stamps that never fail.

- clean & prep...it never hurts to clean your stamp first with a stamp shammy and/or stamp cleaner. When cleaning doesn't help try giving the surface of the stamp a quick once over with a clean eraser to remove any manufacturing residue.
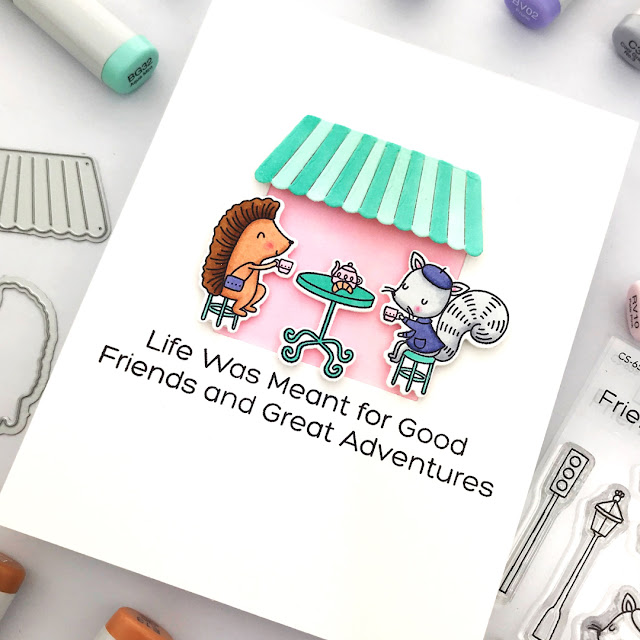
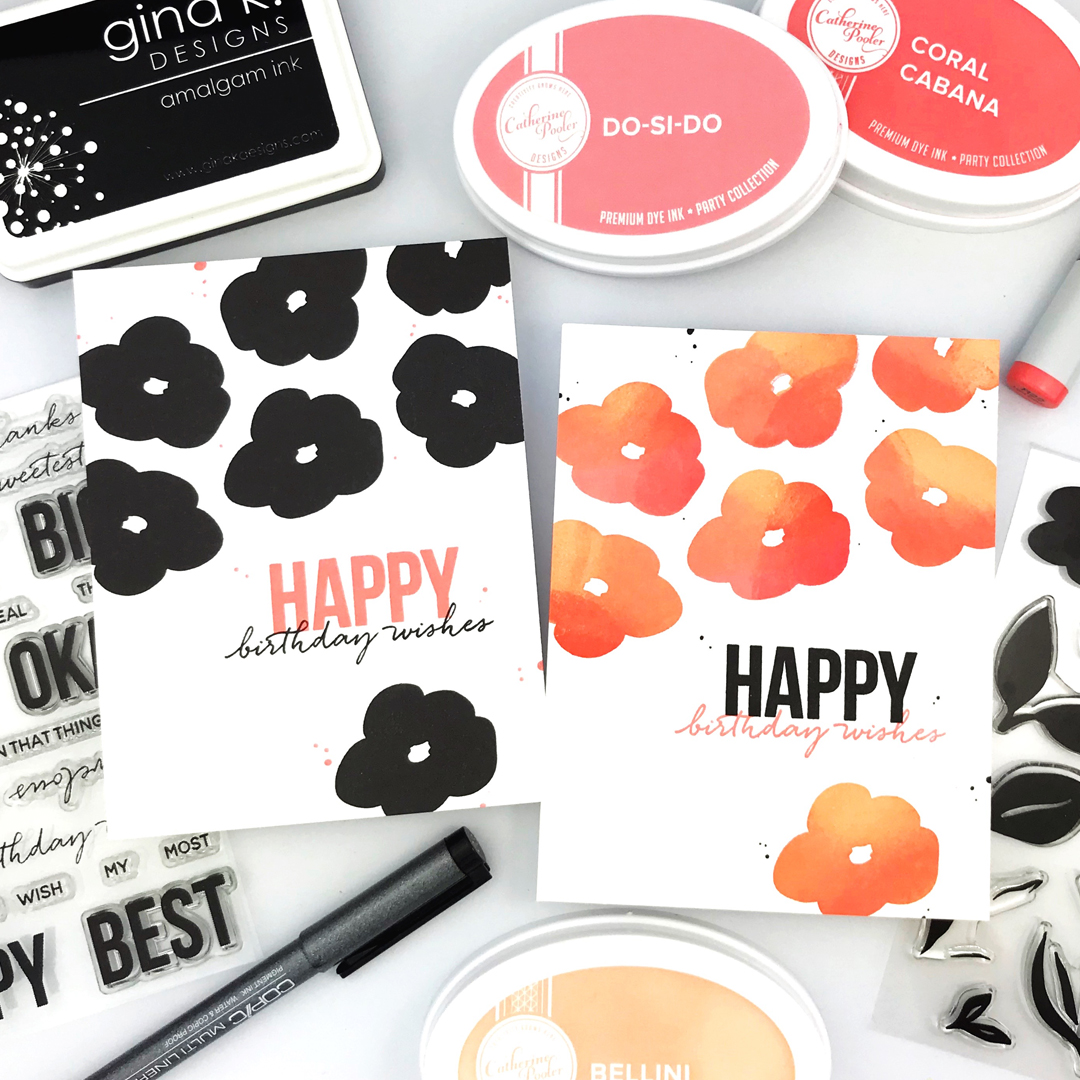
- use the right ink...some inks are actually meant to create imperfect results like Distress Inks. Or you might also have an ink pad that's too dry or a little defective so double-check your inks.
- use a stamping tool...I don't think I can ever say this enough, invest in a stamping tool like the MISTI! I am a very slow adopter when it comes to craft tools but nothing has helped my cardmaking as much as having a MISTI.


Carly
P.S. Wanna see another way I love to use solid stamps? Check out this post over on the Ellen Hutson blog!
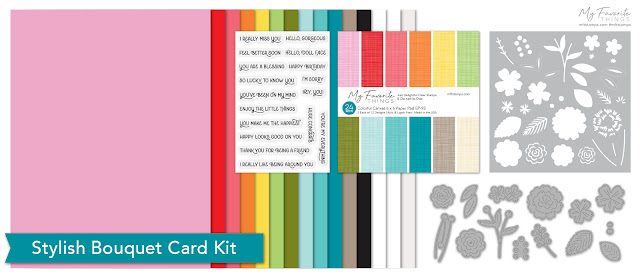
supplies:
affiliate links may be used at no additional cost to you. thank you!
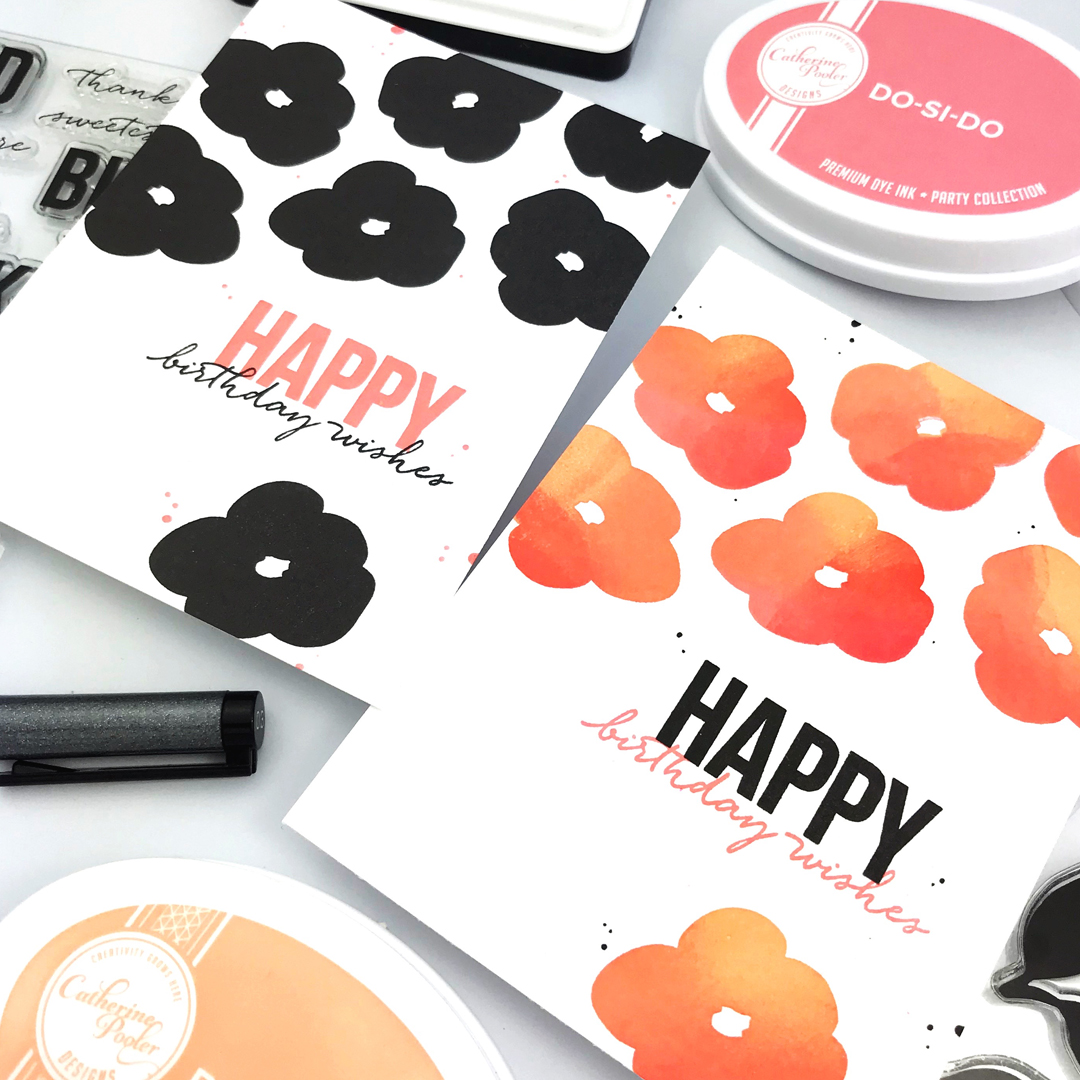
Catherine Pooler inks Bellini, Do-Si-Do & Coral Cabana