It's time for another MFT sketch challenge! Are you ready for it?
I've been having the best time with these sketches! I'm feeling so creative thanks to these challenges! Since I'm on the MFT team, I'm not entering my sketch card to win BUT you can! Have fun creating, increase your crafty mojo AND enter for a chance to win $50 to the MFT shop...it's win-win-win!
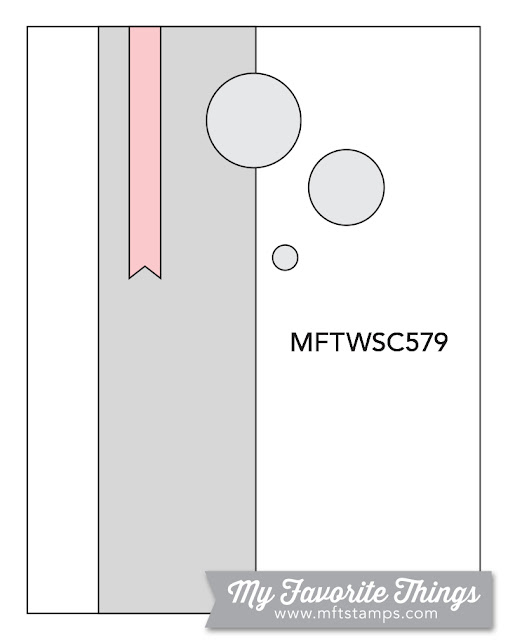
Here's this week's sketch...
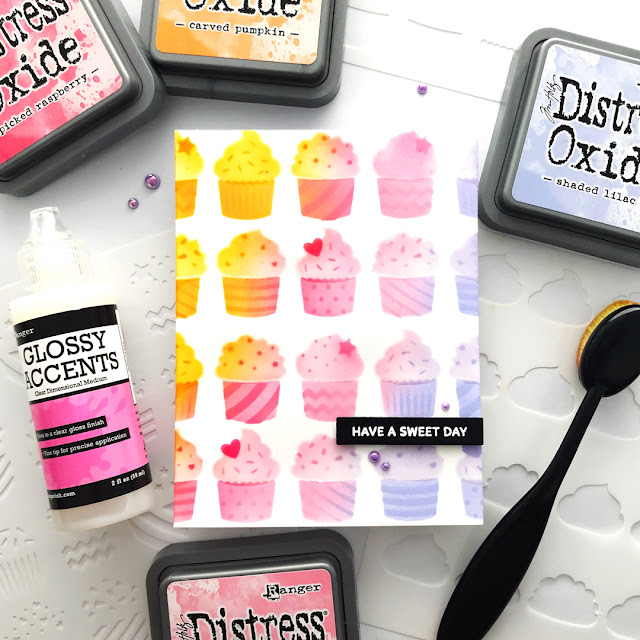
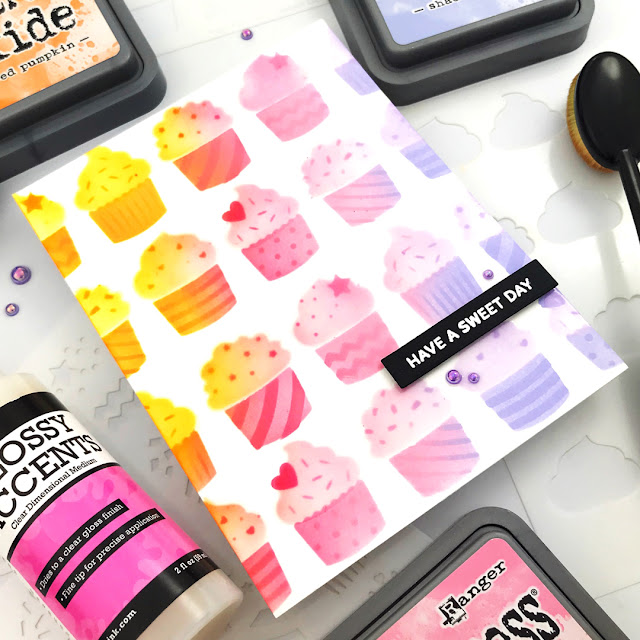
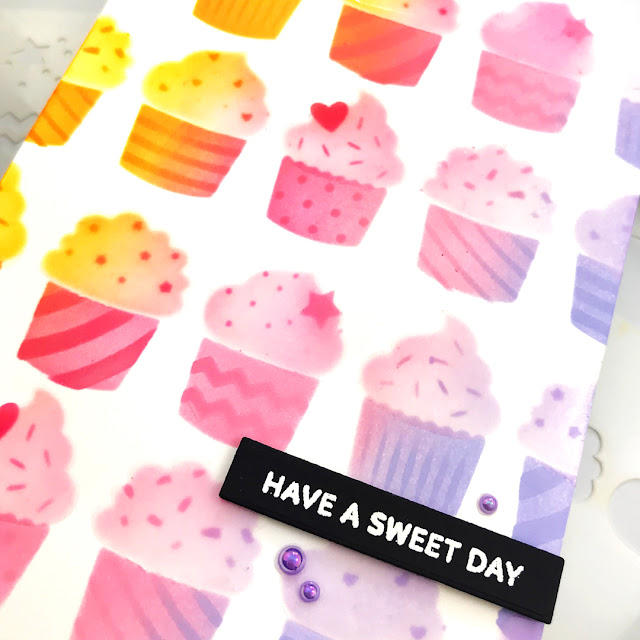
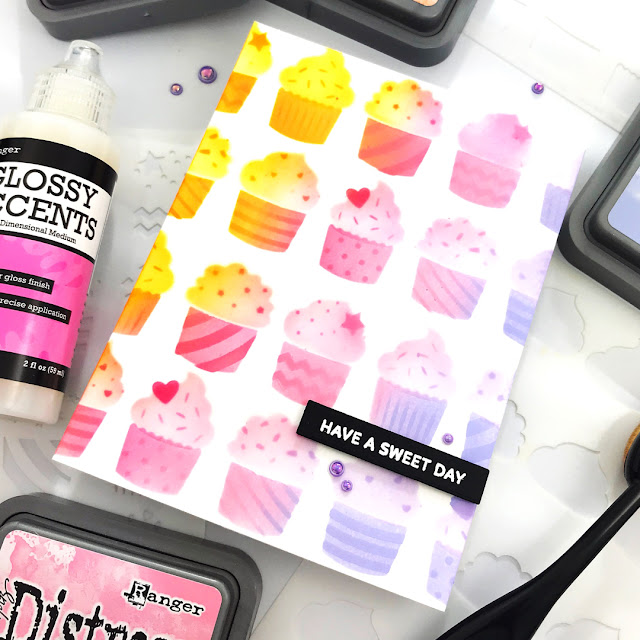
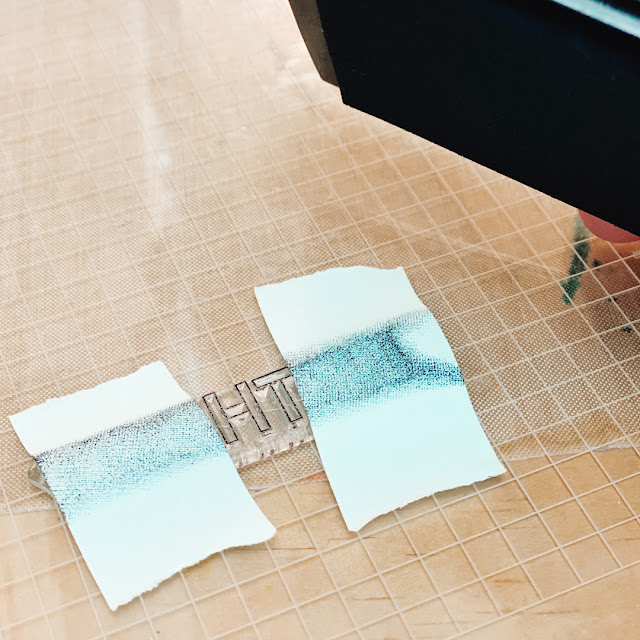
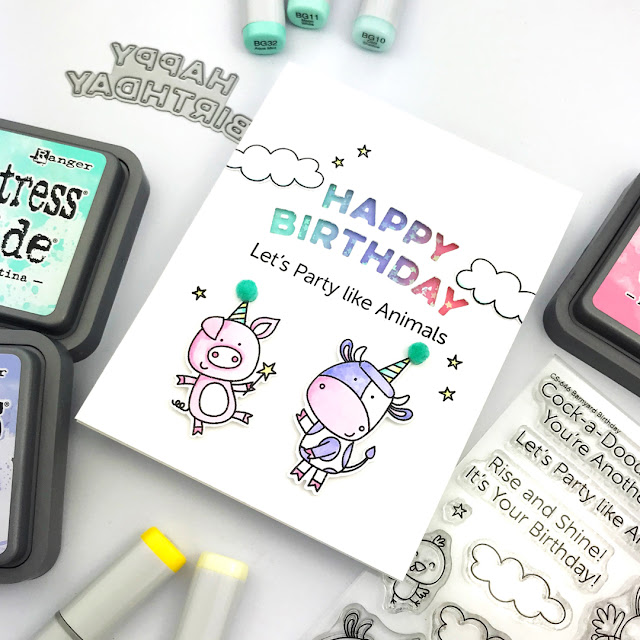
And here's the card I made...I've been working on using up some of my crafty stash including some glitter paper in colors I didn't really like. This glitter paper started as a really pale peach that I was never going to use so I used blending brushes and MFT inks to create this ombre rainbow.I used Lemon Drop, Orange Zest, Poppin' Pink & Summer Splash.
After the ink was dry I used the MFT Piece of My Heart die to cut a window. The great thing about using this die to create the window is that I can use the inside pieces on another card.I adhered acetate on the back of the glitter paper to make a shaker window.
Then I foam mounted the shaker window to a folded card with a pile of sequins in the middle.The final touch was the sentiment strip using Itty Bitty Love stamps and Itty Bitty Strips dies. I used these stamps & dies so much! 5 stars, highly recommend!
Thanks so much for stopping by! I hope you are inspired to join this week's MFT sketch challenge! You can find all the info HERE on their blog.
Hugs!
Carly